Over the past few months, I’ve had people ask me how I do my binding by machine. So, the time has come. It’s time for my first tutorial. While there are plenty of great tutorials out there for machine binding, I do mine slightly differently. I’m assuming that you have some knowledge of binding already, but if there are any steps where you are confused feel free to email me or leave a comment! Apologies for the photos in this tutorial. I was more concerned with finishing the quilt, but I think they get the point across. Let me know if you have any follow up questions – or if you use the tutorial successfully! (I hope it’s used successfully…)
First things first. Prepare your binding.
- I always add up all four sides of the quilt, and then add on 20 extra inches. That’s how long your binding needs to be.
- Then, divide this number by 42 inches (safe side) and that’s how many 2.5 inch strips you need to cut.
- You almost always need 1/2 a yard of fabric for your binding. (Unless it’s a baby quilt!)
- Sew your binding strips together. Here is a tutorial for this step– no need to reinvent the wheel!
- Start sewing your binding to your quilt raw edge to raw edge on the back.
Here’s where I do things differently.
Yes, I said to sew your binding to the quilt BACK first at a 1/4 inch seam. I know, I know – bear with me!
When you start, leave about 10 inches of extra binding. Also, lower your stitches to .3 to lock the stitches in place.
Then, bring the stitch length up and sew until you get to a corner. This next step is important!
Now, when you get 1/4 of an inch from the end, STOP, but don’t cut your thread.
Instead of stopping, turn your quilt at a 45 degree angle and sew off the quilt sandwich.
Yes, I need to clean my machine. But, more importantly, do you see that angle? Good, sew it off.
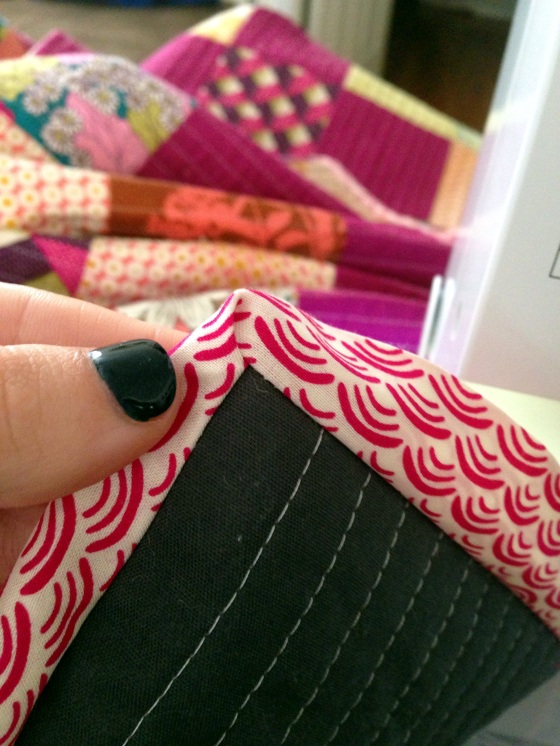
Now, turn your binding up like this:
See, those stitches we just made gave you the perfect guide for that 45 degree angle.
Now, fold it back down so you can get back to sewing.
When you start sewing again, sew directly from the edge at a 1/4 inch seam.
Sew all the way around your quilt, stopping 1/4 of an inch away from EACH corner and sewing off at an angle. This will miter your corners for you. Then, when you get about 10 inches away from where you started, back stitch, cut your thread and remove from the machine. Remember that “tail” we left at the beginning? It’s time to join the ends of your binding. There are plenty of ways to do this, and again, you can follow any tutorial because they’re all the same. I just do mine to the back. However, this is how I do it. I place the two ends together and pick where I want to match them up. Then I finger press them in place.
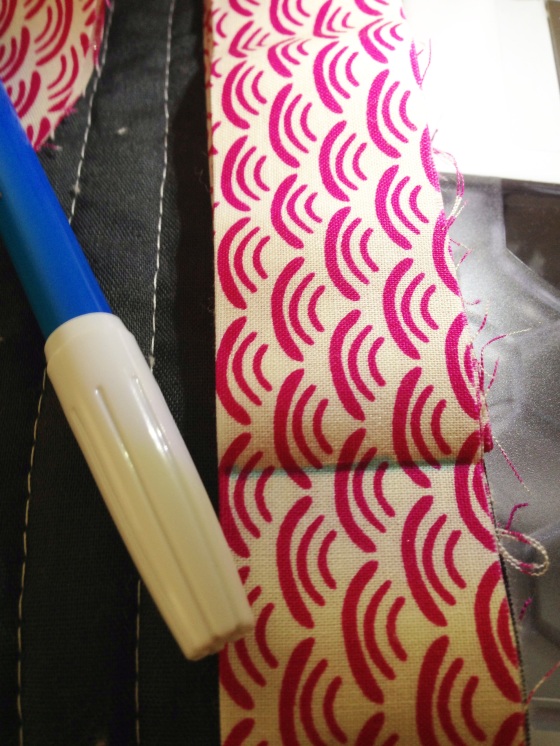
After I finger press, I mark with a pen/pencil/sharpie or I press with an iron so that I can see my mark.
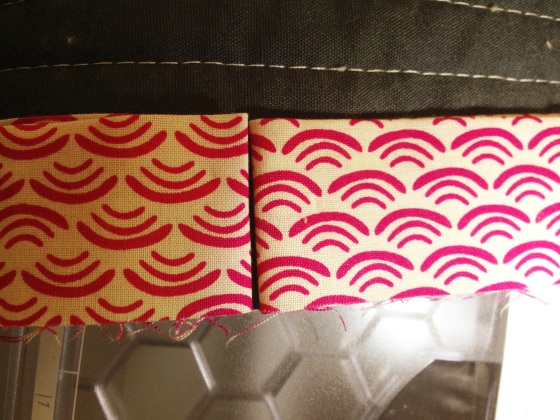
Sew the ends together using the lines you just marked. Also, I like to sew mine on a smaller stitch but that’s up to you!
Cut off the ends at a 1/4 inch from the stitch line and sew this completely to the quilt sandwich.
Now you are ready to stitch to the front!
Turn your quilt over, and bring the binding over.
Start sewing your binding to the front close to a corner.
TIP: Whenever you start sewing, use a small stitch length to lock it a few times, and then bring it back to your normal length
See how close I started near a corner?
This is important. Once I’ve gotten the stitches started, I form the mitered corner, and I hold it in place while my walking foot does all the work.
To form your mitered corner, follow these steps:
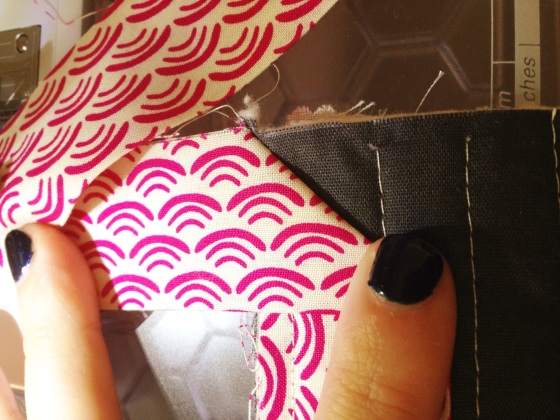
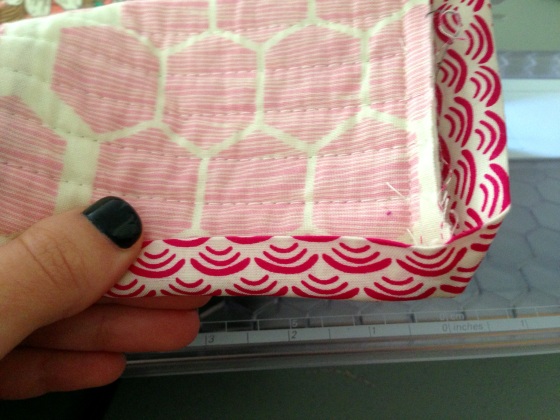
Look at the back. The side that’s on top (below it’s the left) gets folded over first. THEN, fold the other side (the RIGHT) on top of it to make a corner.
See, I folded the left side over. Now I can fold that right side over into a perfect corner.
Whenever you are about 4 inches from a corner, stop and prepare the mitered corner. Don’t wait until you get too close or it won’t form properly. This is the secret. Prepare the corner when you are 3-4 inches away and hold it in place while you sew, and each one will be perfect.
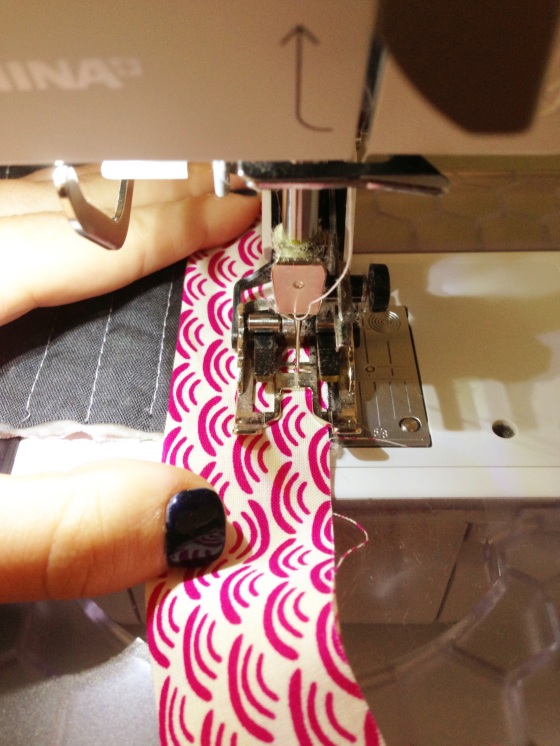
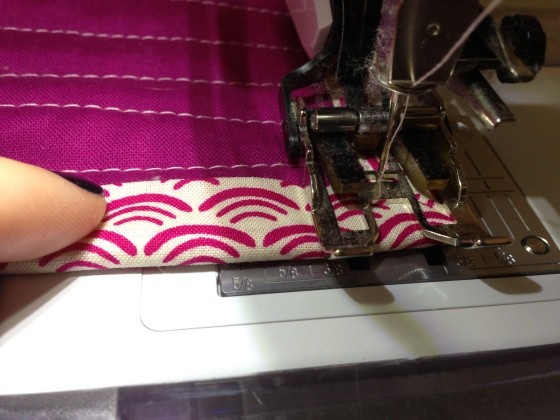
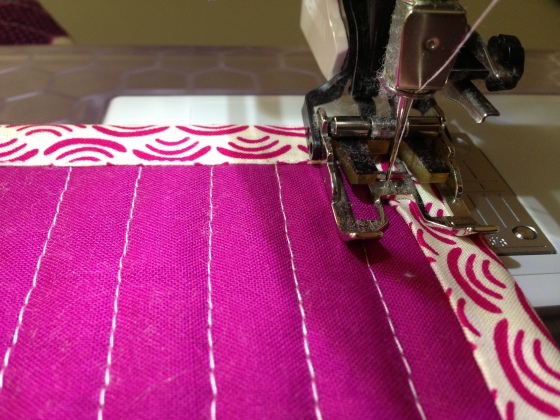
Sew all the way around with your needle barely on the edge of your binding.
See how close my needle is, and that my corner is already mitered.
And, you might have noticed this, BUT I don’t use any clips. NONE.
When you come to the mitered corner, do NOT stop sewing. Turn right at the edge, and start sewing down the next side on the edge of that binding.
See, I know I’m at the corner. I stop and turn the quilt.
Then, I pick right back up. Just make sure you always leave your needle down.
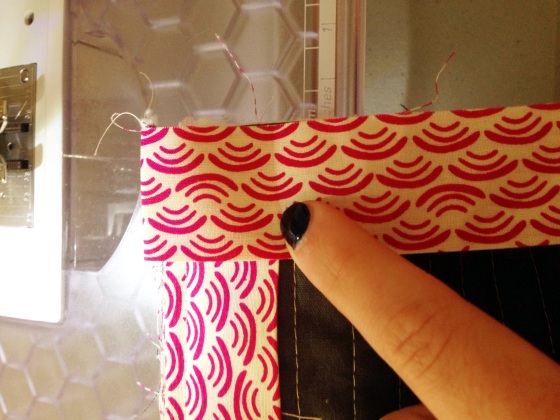
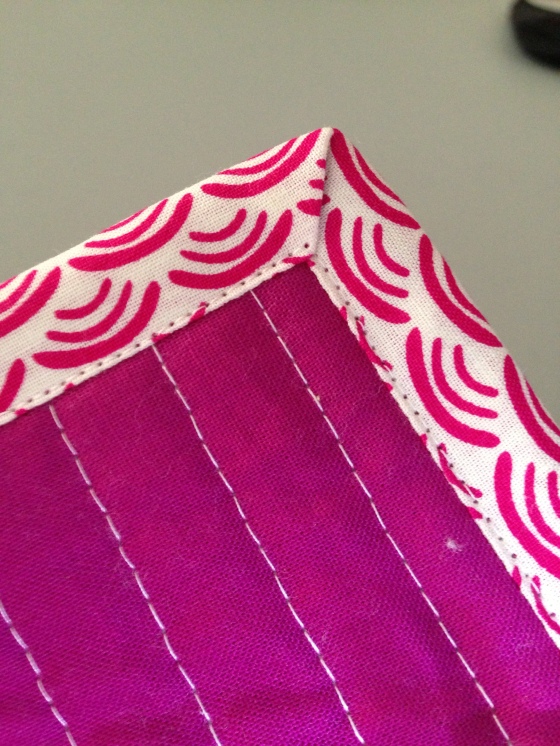
Your corners will look like this on the front:
No really. Each one!
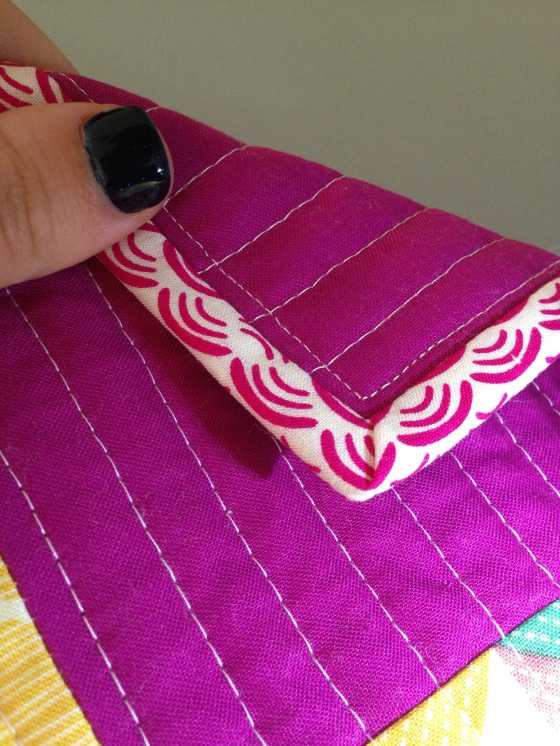
And this is how they will look from the back:
Continue all the way around your quilt until you’re back at your starting point.
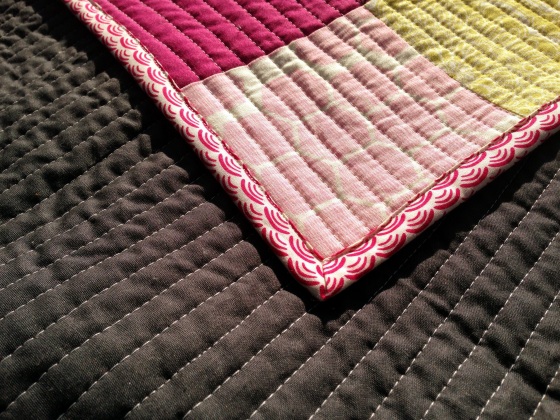
Then, go take your quilt on a photo shoot and enjoy those perfect corners!
So, that’s how I machine bind my binding. Without a single clip or pin. I know, it’s like Christmas morning. So, how did I do for my first tutorial? Let me know if you find this helpful – I hope you do!

