Quilted Name Tag

This weekend my husband had to chaperone a field trip and when he mentioned that he needed another chaperone I quickly volunteered.  Basically, I don’t like to be home alone.  Ever.  The weekend was a great time to interact with his students and see him in action.  However, let me tell you, a high school teacher I am not!  As a bonus, we also got to hear Fareed Zakaria speak, which was a nice surprise, especially since I spent all of high school and college reading his articles in Newsweek.

Image

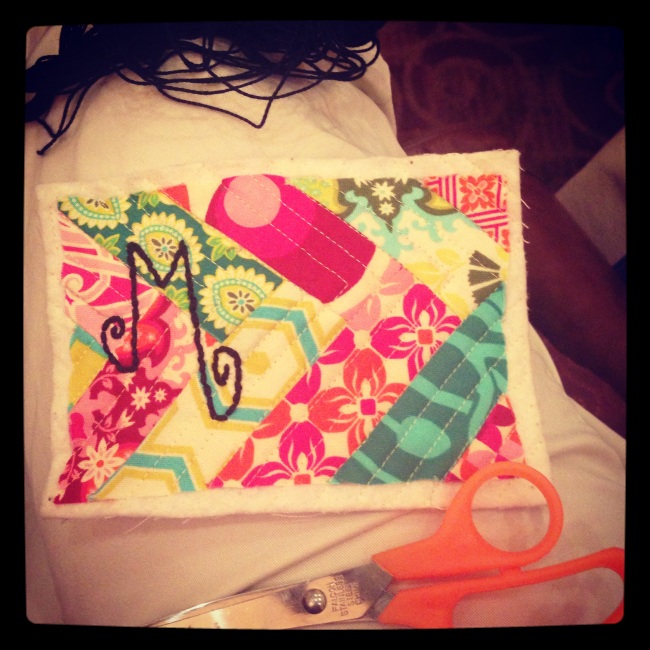
During his speech I was doodling on paper planning out the embroidery letters for my quilted name tag.  (I listen better when I’m drawing, honest.)  At one point I looked over my shoulder and another chaperone was designing a quilt block.

Quilters are every where!

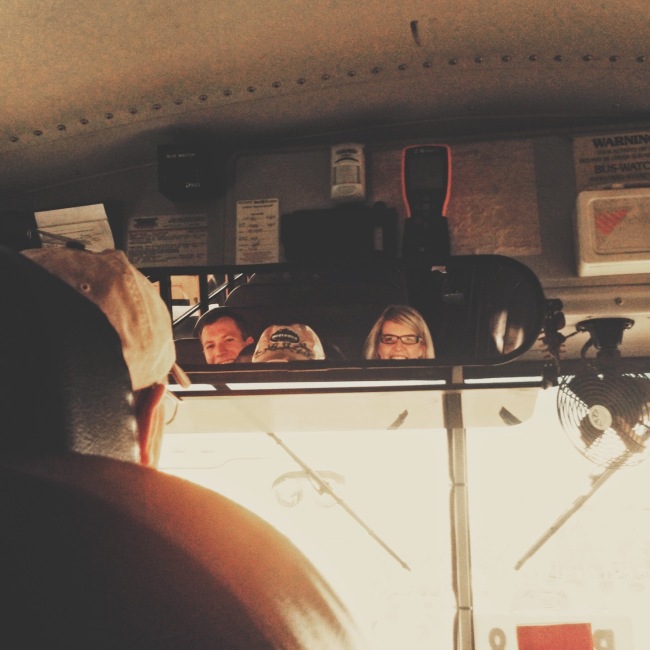
We also no longer sit in the back of the bus with the cool kids…

Image

I was most definitely the only chaperone doing this in the lobby:

Image

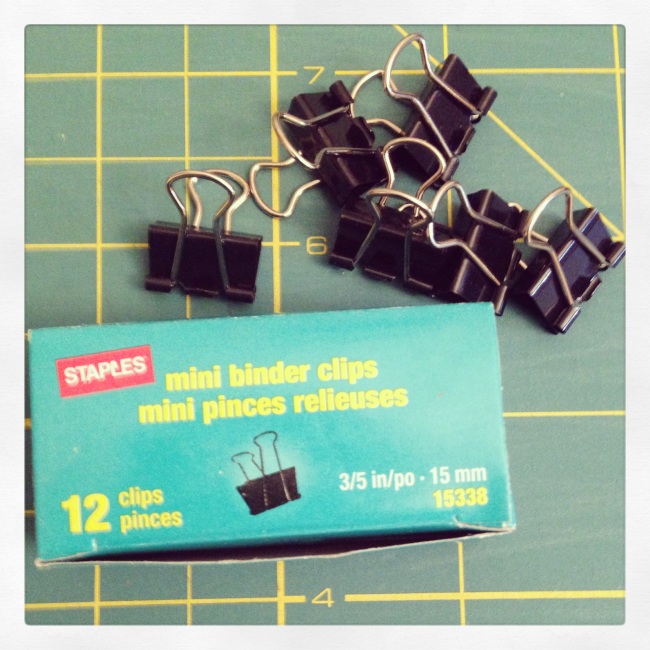
My only goal this weekend was to finish my quilted name tag for my MQGs challenge.  I literally sat in the lobby embroidering the entire day on Saturday.  I’m pretty happy with the results, but I am not showing you the back!  Hot mess!  Tonight, when I got home, I headed straight to little BerNina.  I knew if I waited, I would never finish this project.  I used the binding tutorial that came with the Herringbone Hot Pad tutorial I tweaked for this project.  The only difference was that I used these – teachers do what they gotta do!

Image

My first time binding:

Image

 The binding got a little curved on the bottom, but overall I’m really happy with it!

Here’s a closeup of the decorative stitch I used:

photo 3

 Did you catch the lint at the top of the Y?  Whoops.  Gotta clean that.

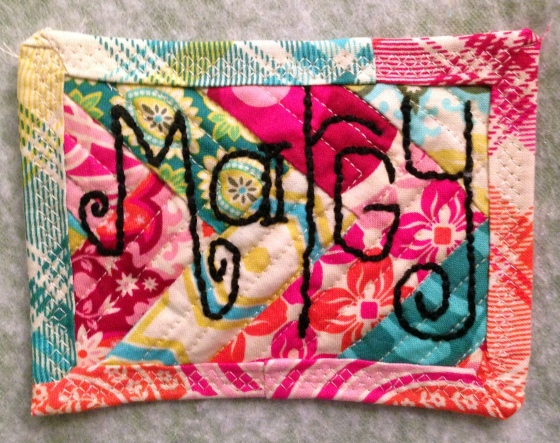
Finally, here’s the finished product:

photo 2

 Ok, so it’s not really finished, you got me.  I still have to attach the pin.

So, what do you think?  Will my partner like it?!

Be sure to check out the other projects at for Let’s Get Acquainted Monday!

Quilted Name Tag

The best part of quilting is hands down the community.  I love how much I learn from others, and it is a constant flow of inspiration.  Through Instagram, blogs, pinterest, and my Modern Quilt Guild, I have met so many amazing quilters who continue to not only inspire me, but also encourage me to try new things and keep going.  The North Jersey Modern Quilt Guild issued a challenge for our guild – The Name Tag swap.  I was a little hesitant to sign up because I’m one of the newest quilters, and I don’t know how to bind or finish a project, but I threw caution to the wind and joined in.  Even though it’s not due for a few weeks, I knew I needed to get started pronto because this is a project I can’t turn in late. Only because I’d feel bad for my partner!

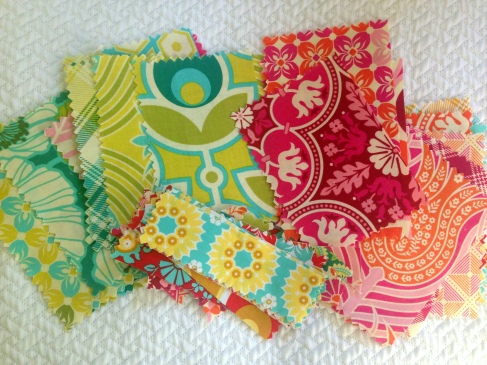
For this project, I decided to break into my Notting Hill charm pack:

Image

I love these colors and I thought they’d look perfect for the project I had found.

After searching through endless pinterest and blog posts, I decided to tweak a free tutorial I found on Sew Can She’s tutorial page for a quilted Herringbone Hot Pad.  We all know how much I love anything Herringbone. 

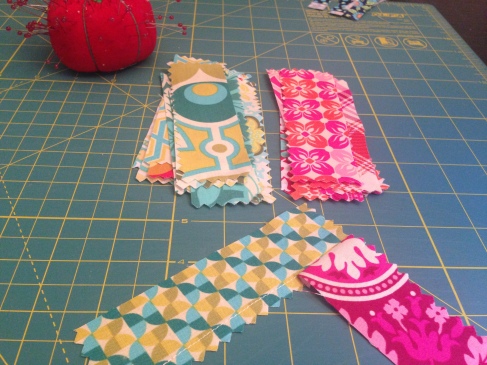
I cut off a few 1.5 inch strips and seperated them by color.

Image

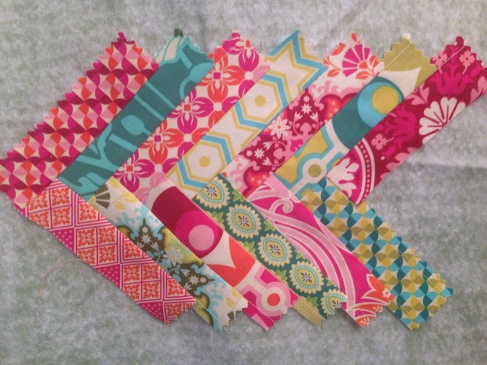
The block came together very quickly.  I kept going with the strips until I knew I was past the size I wanted for my name tag so that I could cut it down to size:

Image

For this project, I only made one half of the Herringbone block because I didn’t need width, but I want to make something larger, maybe a pillow, to showcase the whole block.

Image

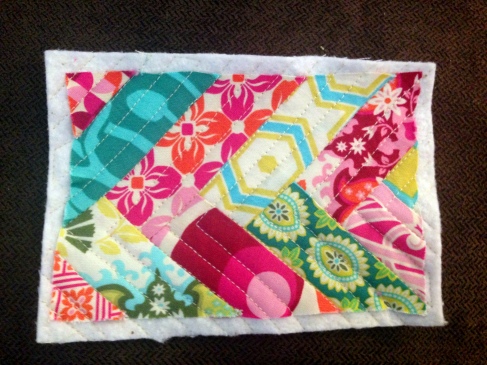
Here’s it is quilted (YES, QUILTED!)

Image

Now I need to remember everything my mom taught me about embroidery so that I can embroider my partner’s name!  Of course, I’m also looking up 50 million tutorials on that, too!

I hope you’ve all enjoyed a beautiful spring weekend.

Happy Quilting, friends!